CubexSoft MSG Export Tool : Know How it Works!
Follow this step-by-step guide for CubexSoft MSG Converter.
And Import/Export/Move MSG Files to Various Technical File Formats and WebMail Accounts.
First, Download the MSG Converter software on your Windows operating system.
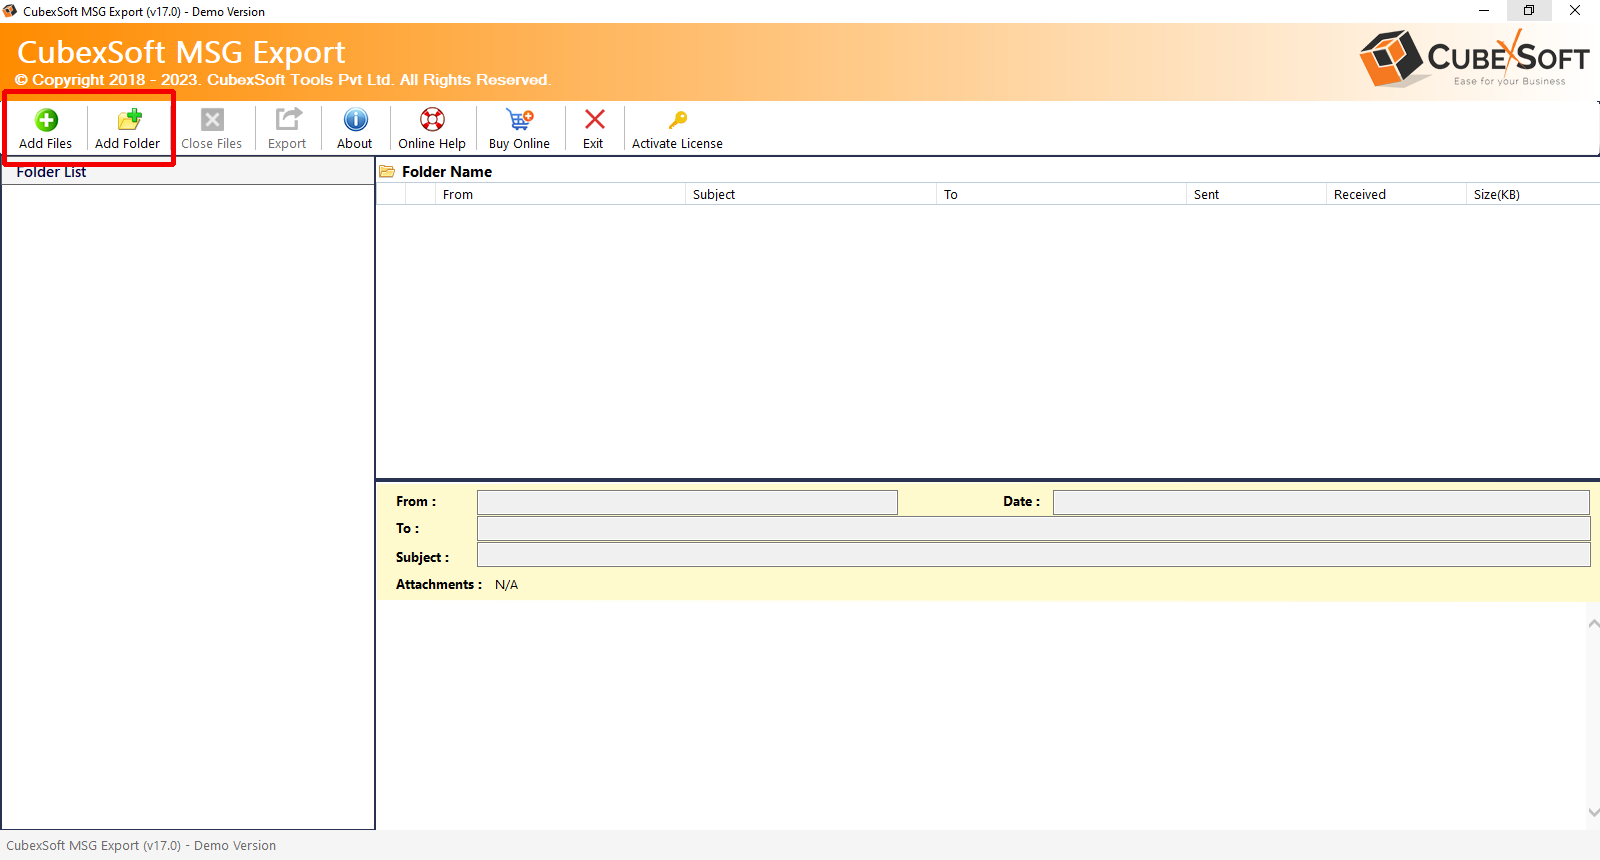
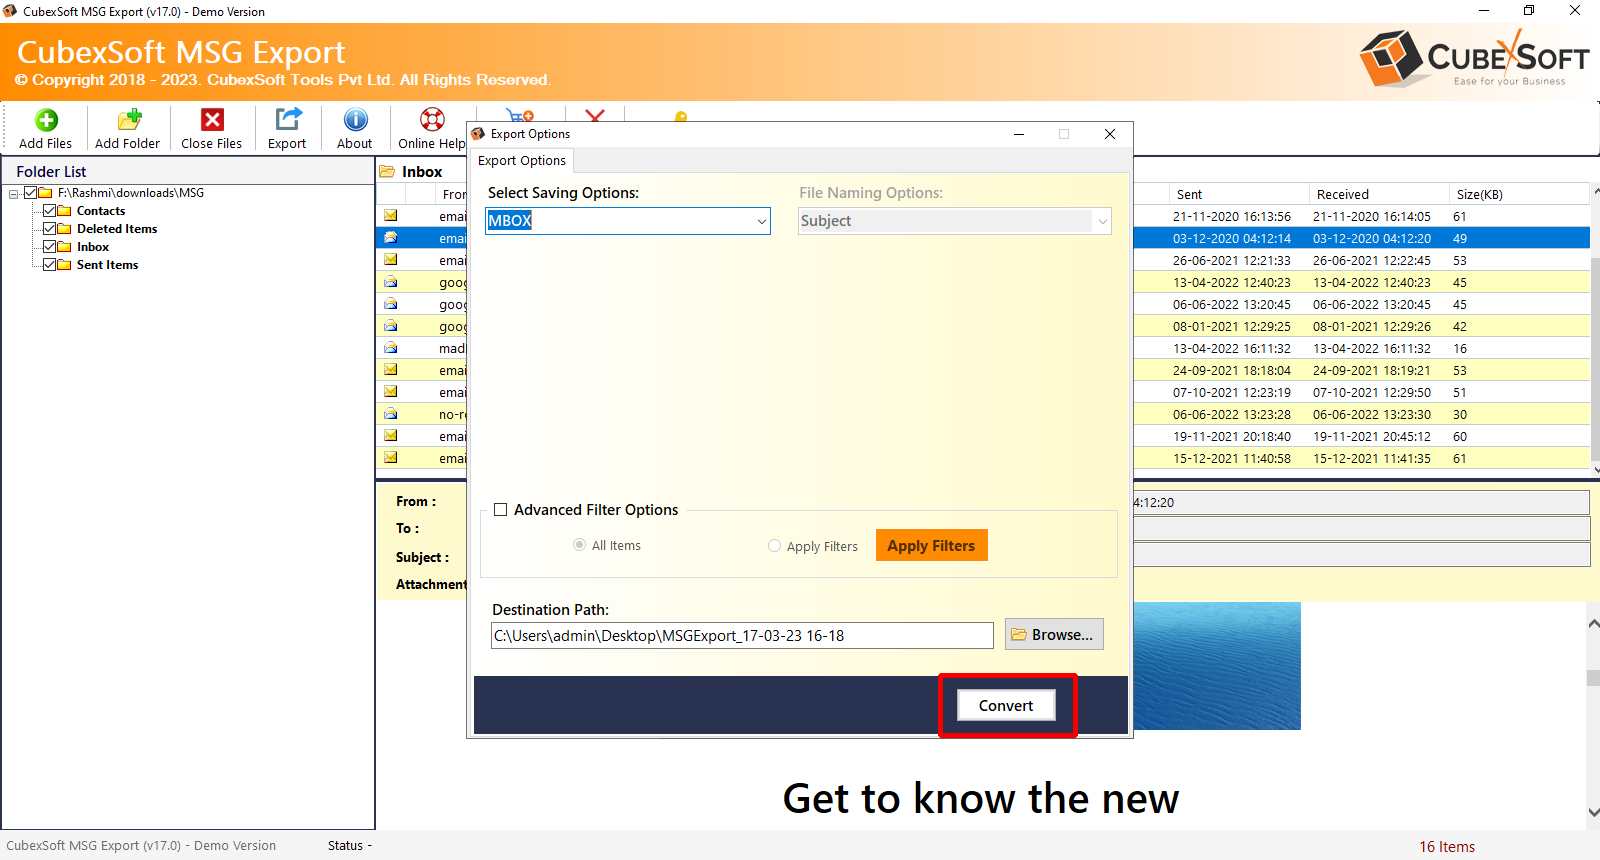
After downloading, launch perfectly on your computer desktop. When it gets launched, the screenshot will be appeared as:


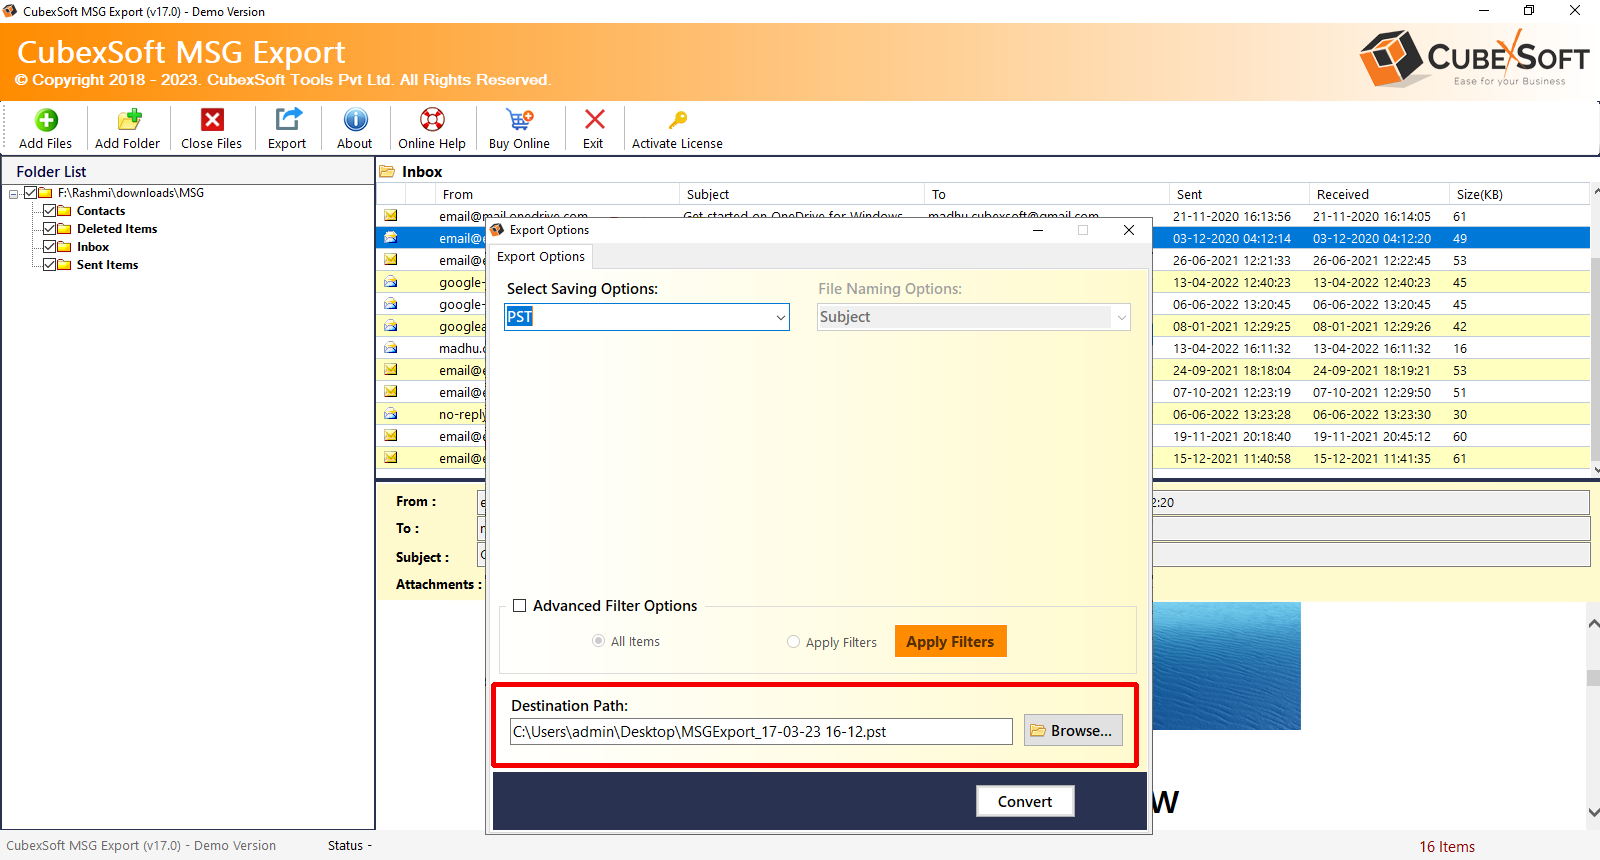
To Export MSG to PDF File Format:-
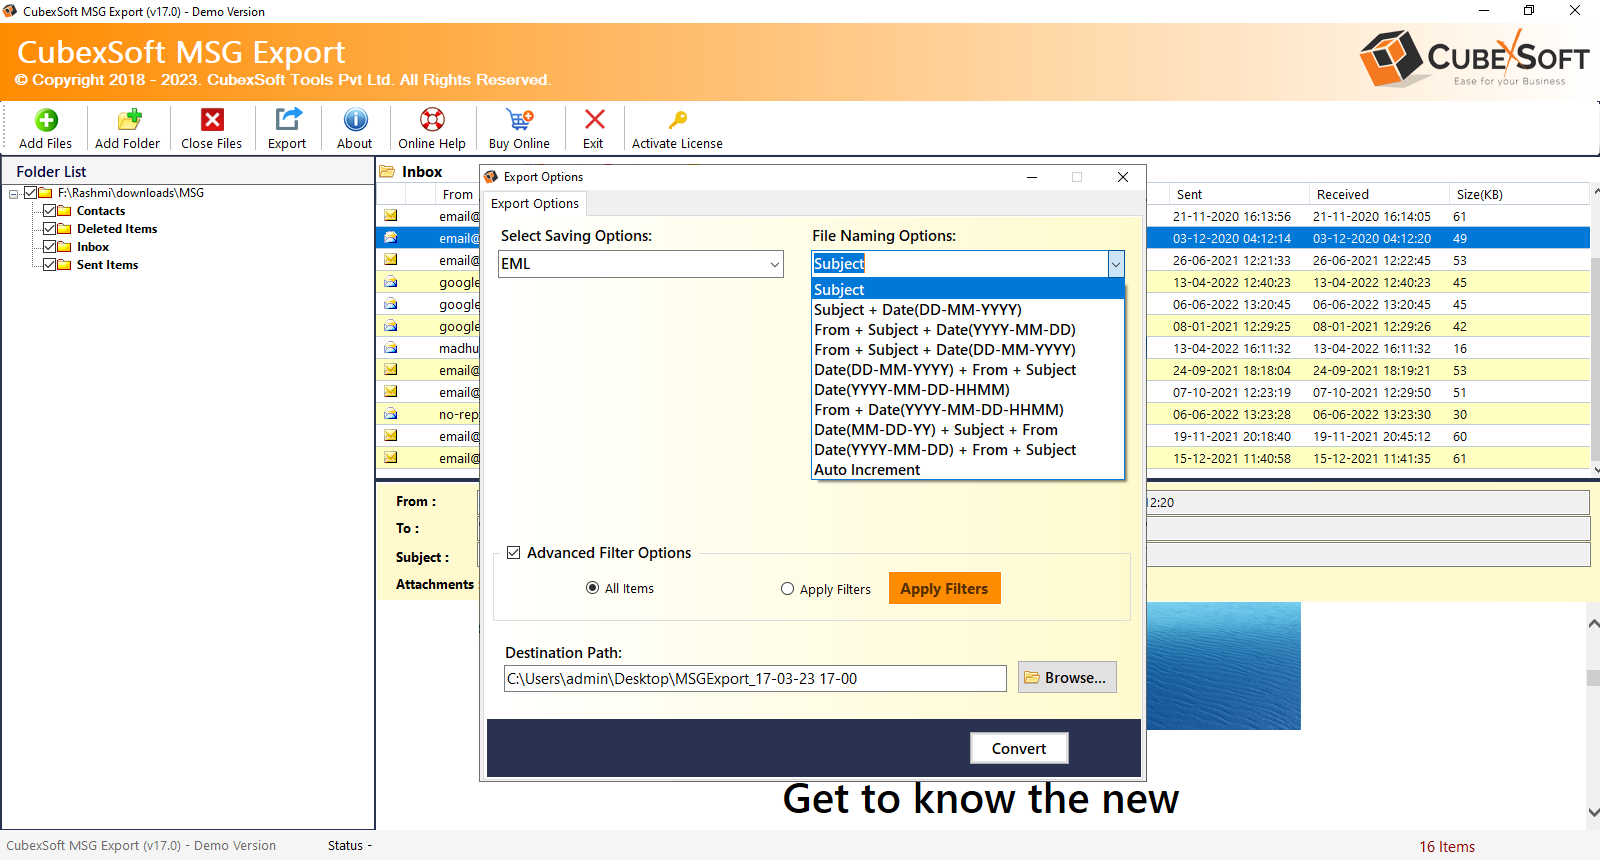
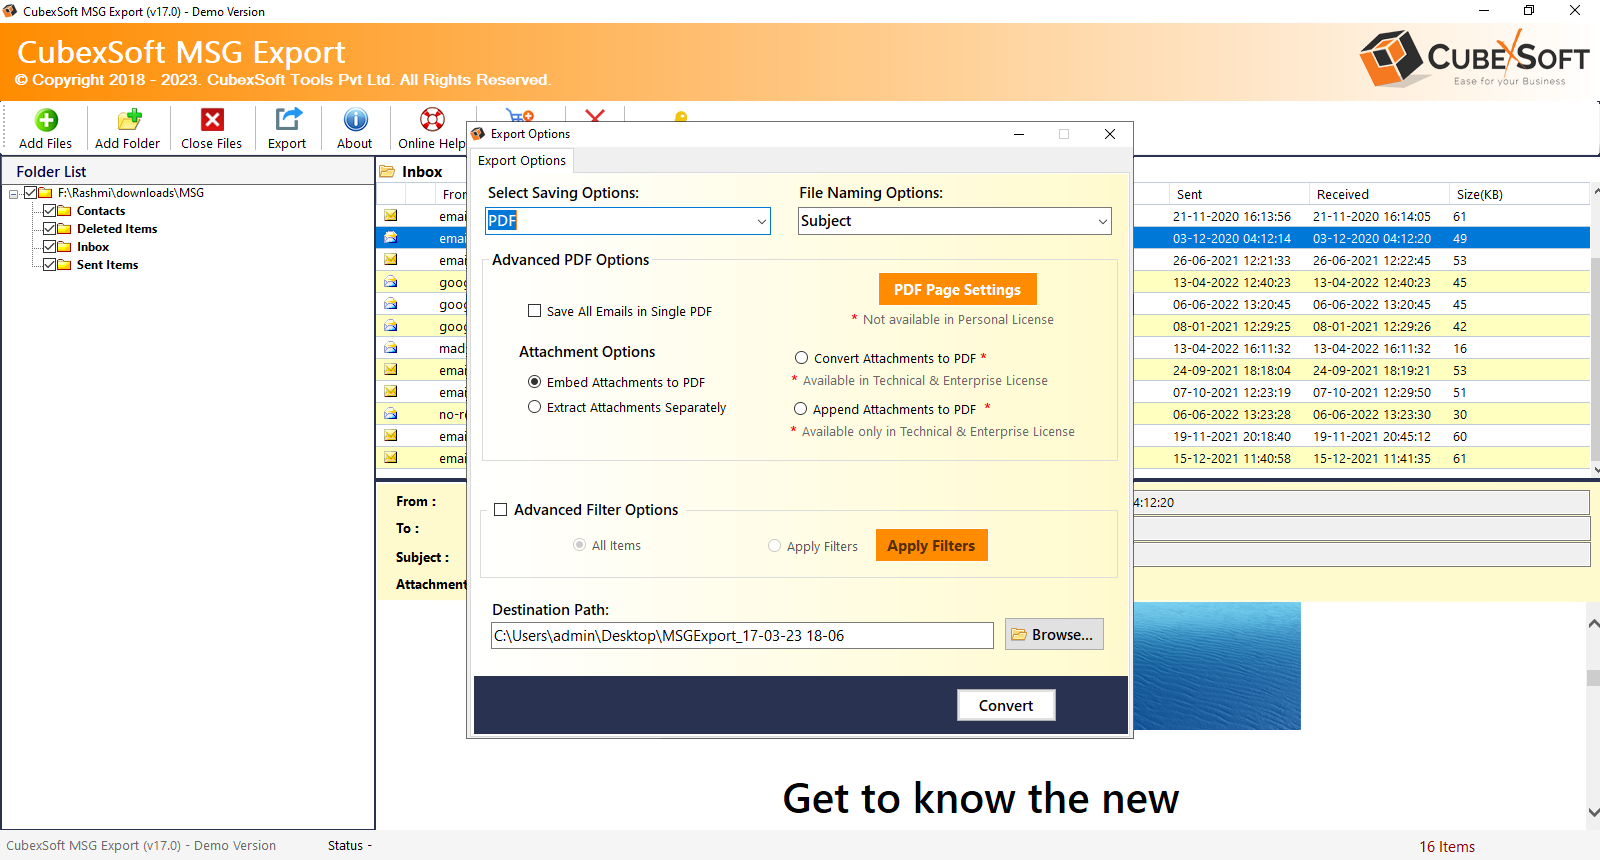
For exporting MSG files to PDF, select PDF option from the output type options. If you select PDF option as export type, then the tool will give Advance PDF Saving options, File Naming Options, and Advanced Filters. So you can choose as per your requirement. Next, choose Naming Options according to your choice for saving output PDF files in a well-arranged manner. Now, select Advance PDF saving options as per your requirement:
In Advanced PDF Options:-
Saving PDF
- Save All Emails in Single PDF
Saving Attachment Options
- Embeded Attachments to PDF
- Extract Attachments Separtely
- Convert Attachments to PDF
- Append Attachments to PDF
In this option you have to select Advance PDF Page Settings option:
Margin:- In this field, you will get 4 margins option i.e. Top margin, Left Margin, Bottom Margin and Right Margin.
Paper Orientation:- Here you will get option for page structure i.e. Landscape and Portrait. Here you can also select page size such as A3, A4 and Letter for exported PDF files
Bates Number Format
- Prefix:- With this option, you can add any number or digit at the starting of PDF name.
- Suffix:- With this option, users can add any digit or number at the end of PDF name
- Start Number:- This option is useful for customization of number stamp on PDF. For instance; if you choose "1" then the number stamp started with 1, 2, 3......n
- Increment By:- Using this option, you can increase your number series with the number of your preference. For instance if you choose 2 in the Increment By option then the bates number start as 1, 3, 5....n, n+1
- Position:- Using this option, users can choose any position to add number in PDF pages.
Stamp Current Date
- Format:- The option is useful for adding data in PDF pages. You can choose any of the format to add dates in PDF pages such as MM/dd/yyyy, dd/MM/yyyy, yyyy/MM/dd, etc.
- Position:- Using this option, you can choose desirable position for adding dates in PDF pages.
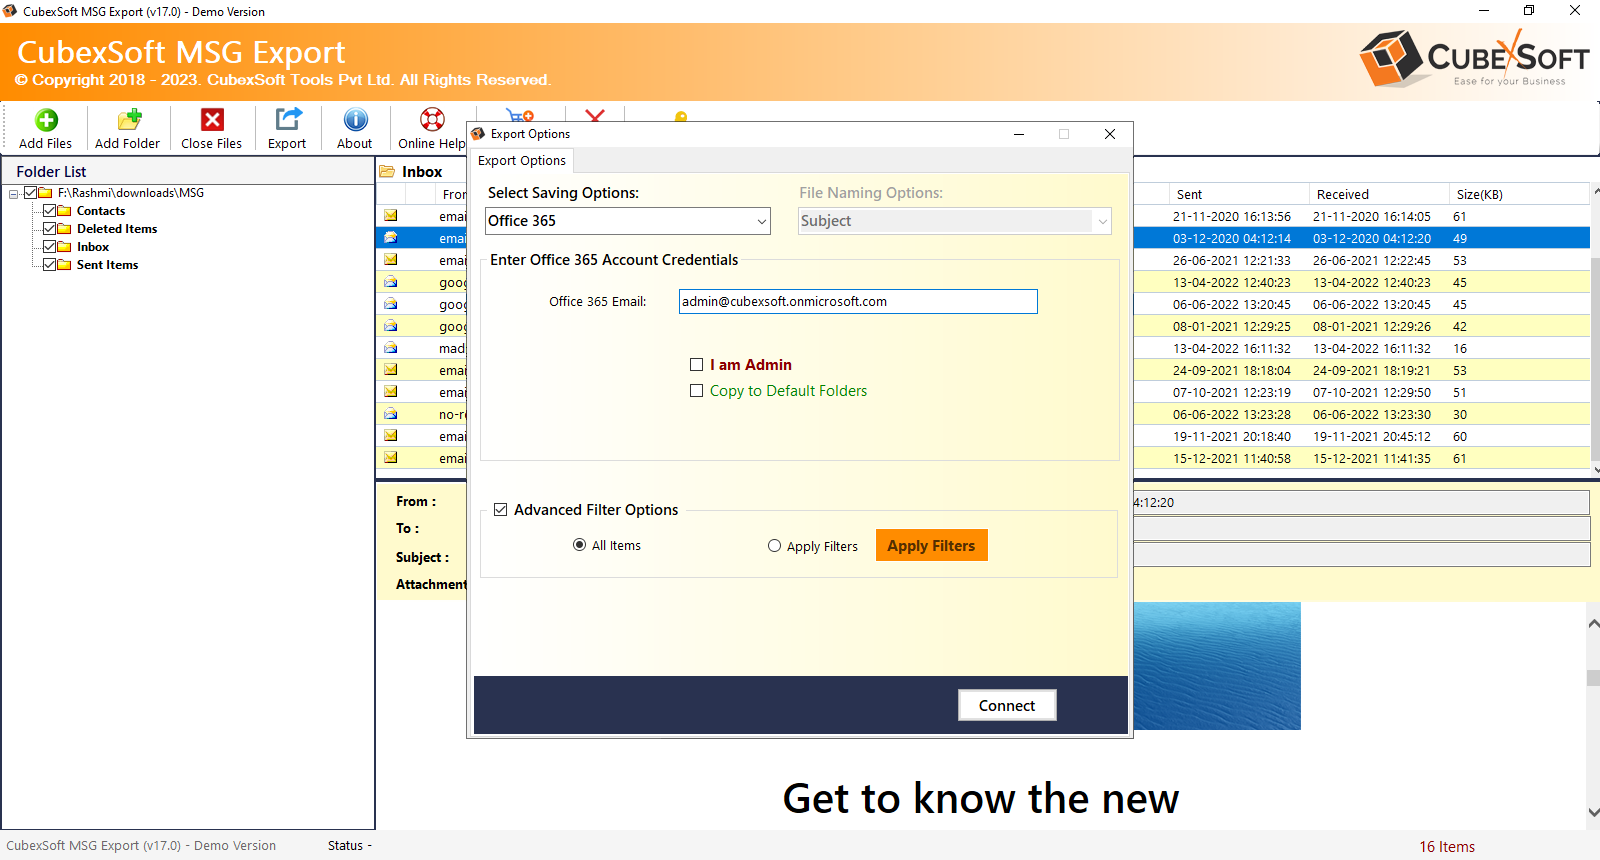
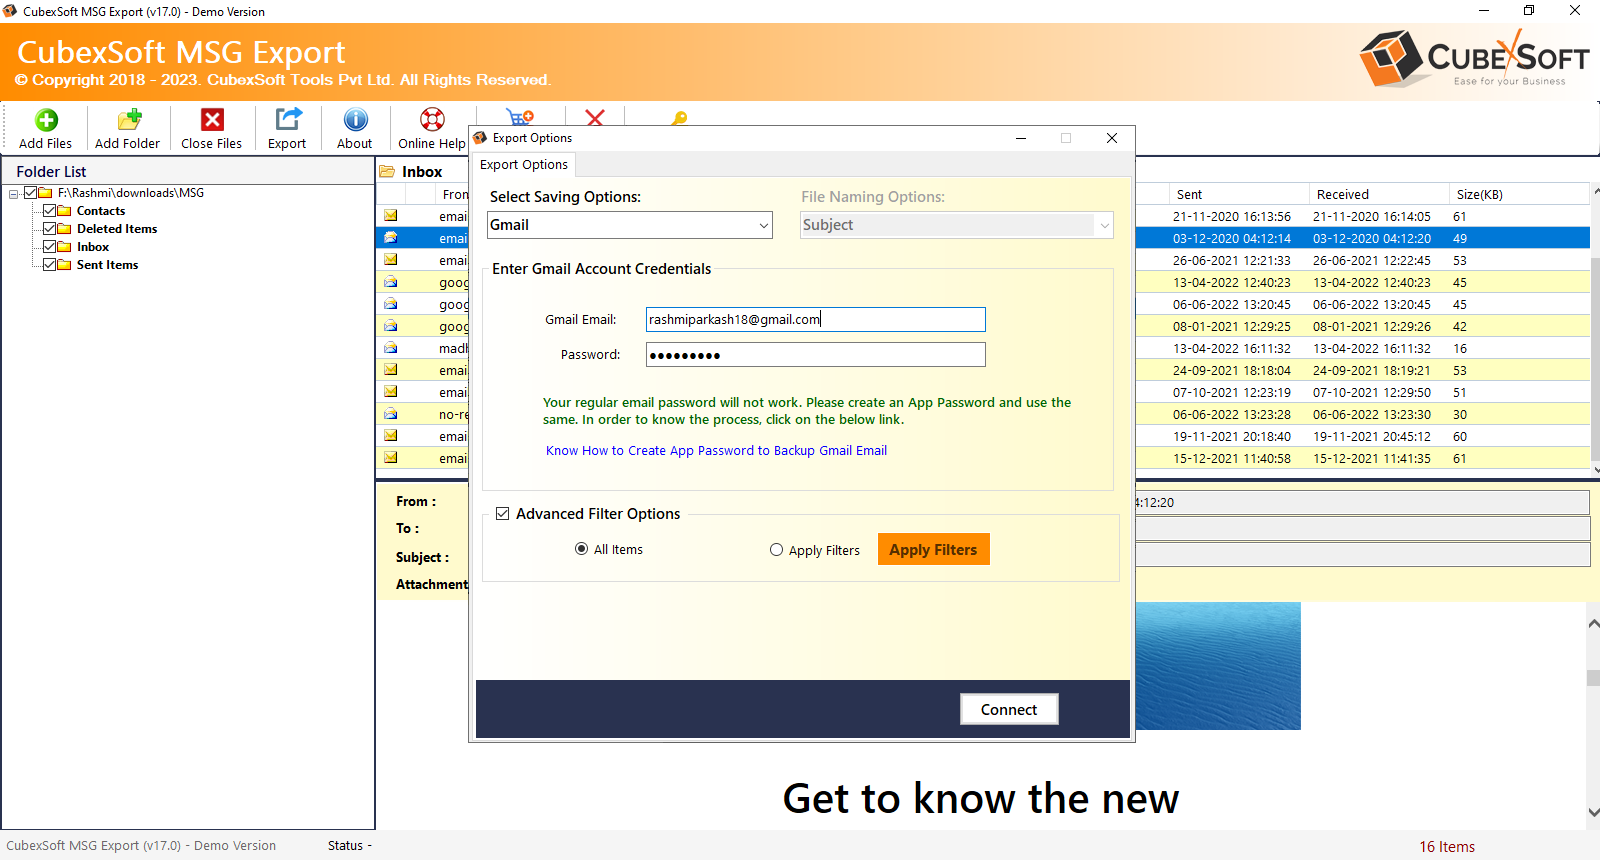
For converting MSG emails to select Office 365 saving output format. After selecting O365 saving option, provide the login details your Office 365 account. Next, select the checkbox appearing next to "Advnace Filters Options" option, to save data with the particular date range. You can also select I Am Admin option.

First download CubexSoft EML Wizard for Mac Tool on your Mac System.
Once, it gets downloaded, lauch and open it. The first screen will be shown as:


Click on Select Saving Option drop down list and choose desired saving option.
The software provides multiple saving formats to convert Mac EML Files
- File Formats - PST, EML, EMLX, MSG, HTML, MHT, CSV, VCard, ICS, MBOX, PDF, DOC, TXT, OLM
- Email Clients - Thunderbird
- Email Servers - Gmail, Yahoo Mail
- Cloud Based services - Office 365, Outlook.com, IMAP Servers
Choose the right format as per your needs as shown below-

The Mac EML Converter also provides various sub options for individually selected output options.
For PST

For PDF Format
- Save Attachment Options- In this option, the software provides multiple options to save Attachments in PDF
- Embed Attachments into PDF
- Extract Attachments to separate folder
- File Naming Options - Multiple file naming options are available in this option, so you can choose as per need to save resultant file, then click on OK button.
Choose the appropriate filter option from the following options -

For EML, EMLx, MSG, HTML, MHT
- File Naming Options - Choose required file naming options to save resultant files.

Select the saving location if you are exporting EML files to file formats. (By default, it is set as Desktop.)
And if you are exporting to cloud based services or any server, you just need to enter the login credentials to connect to the respective options.
Saving path Selection when converting to File Formats -

Destination Login when saving backup in Cloud Based email services or any servers -

Destination Login when exporting EML files to IMAP Servers -


