Table of Contents
CubexSoft EML Export
Working Procedure

Export EML to Office 365
Steps to convert EML Mailbox files to Office 365 :
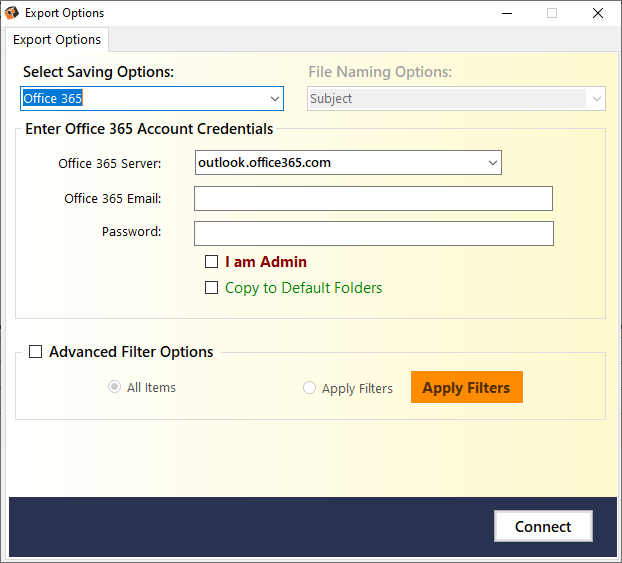
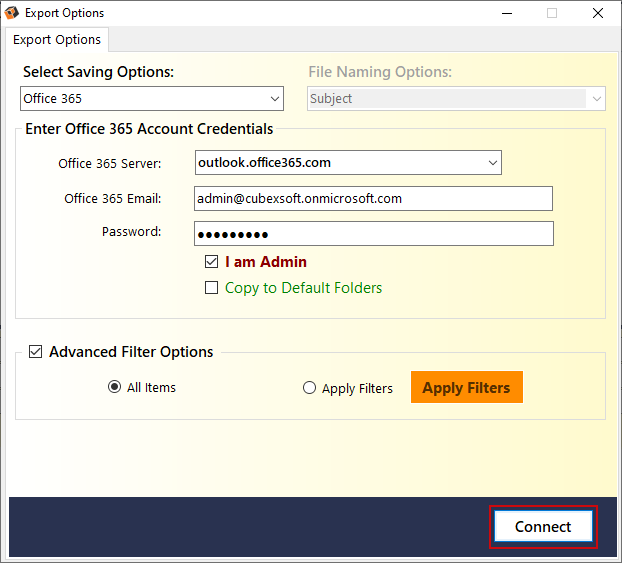
- Select Office 365 option as export type from the list and enter the login detial of your Gmail account.
- For applying filters firstly, enable the option of Apply Rule/Filters and click on Set Filters.

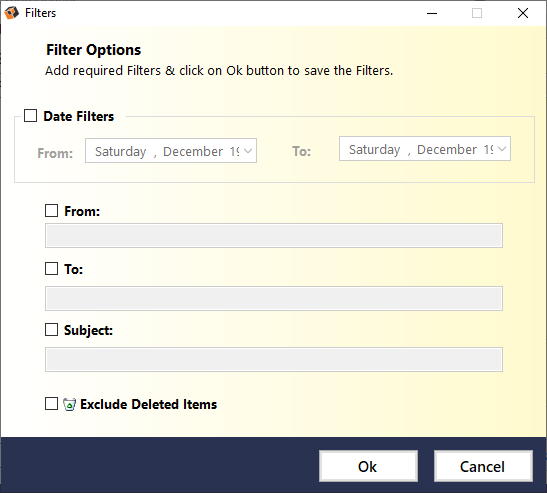
Now, another window will immediately open and showing different types of filters like To, Date range filters. You can apply any filter according to your need to perform selective EML migration.
Email Filters:-
Filters by Date – In this option, you can set filters according to date by selecting specific date-range in “From” and “To” date field for achieving selecting EML emails conversion.
Filters by Email – In this option, the software includes two filters Such as To, From and Exclude Deleted Folders.
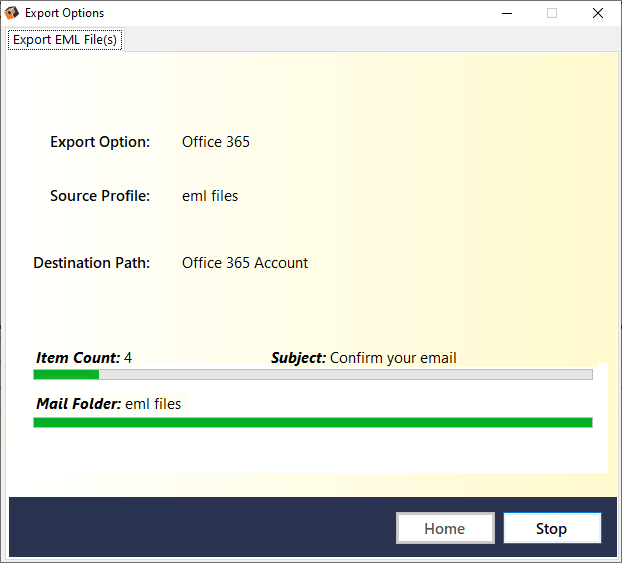
- After selecting all desirable option, press on Connect button to start the conversion process of EML files to Office 365 account
- After Clicking Connect Button, the software start the conversion process and you can view live conversion during the process.
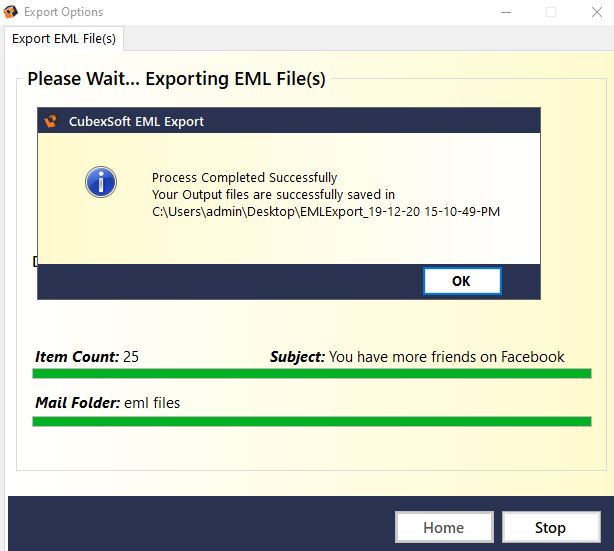
- Once the whole migratiom is finished, a pop-up window will appear showing the message like Conversion is Done. Then, press on the OK button to accomplish the process.
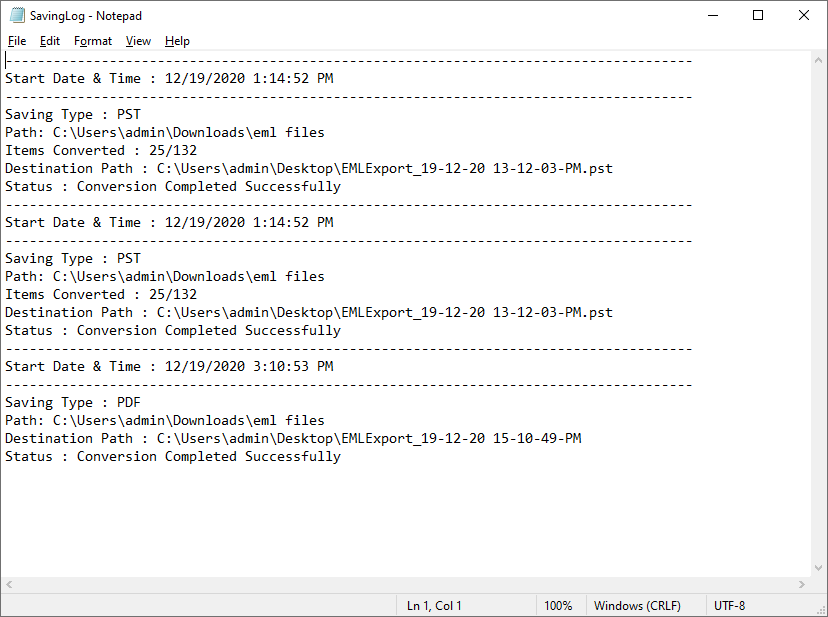
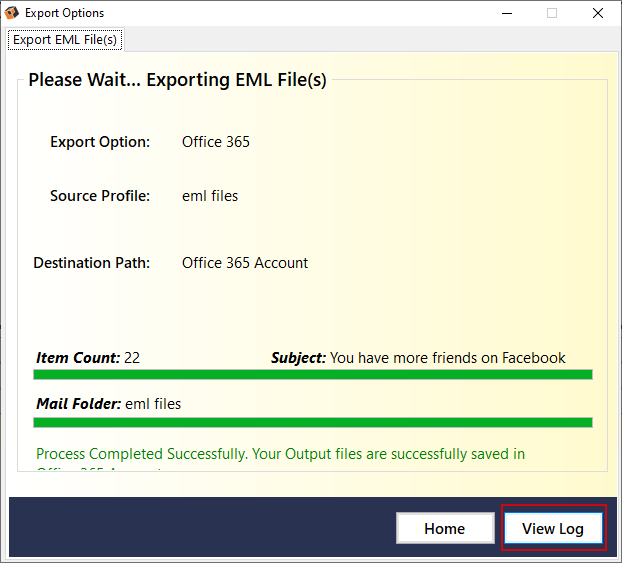
- After clicking on OK option, the software will highlight two options - OK and View Log. By clicking on OK, you can complete the process and by clicking on View Log, you can save the complete conversion report of EML files in TXT file.
- After clicking on Save Report, the software will successfully create TXT file including complete migration details of EML files on your local system. So, you can view TXT Reprot in Notepad.