CubexSoft NSF Export
Working Procedure

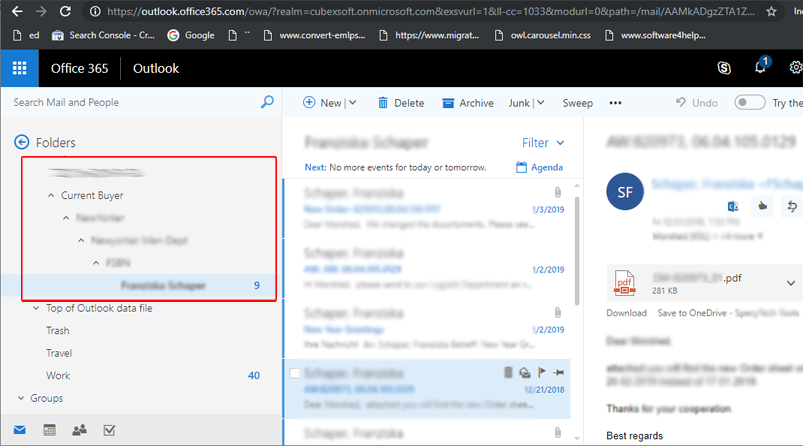
Import Lotus Notes NSF files to Office 365 using I am Not Admin Option
Steps to convert NSF files to Office 365 using I am Not Admin option:
- To import Lotus Notes NSF files to individual Office 365 or Outlook.com accounts, you need to click on I am Not Admin option.
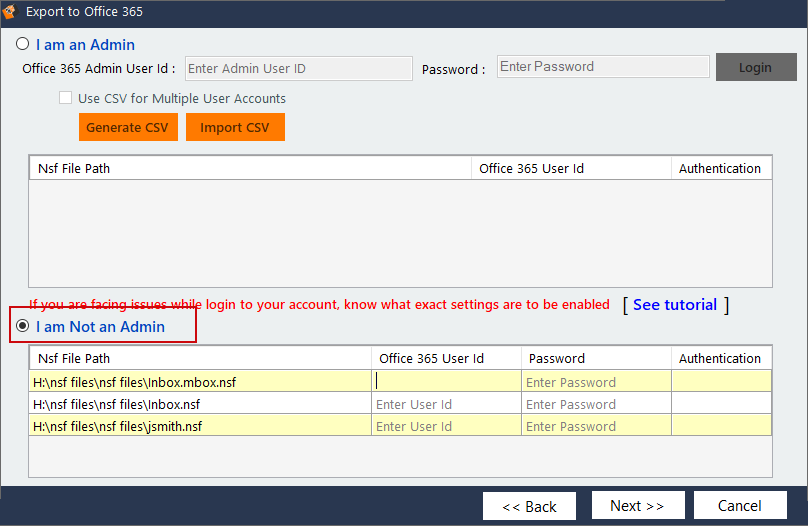
- Now, enter the User ID and passwords of the Office 365 or Outlook.com accounts into which the NSF data needs to be uploaded
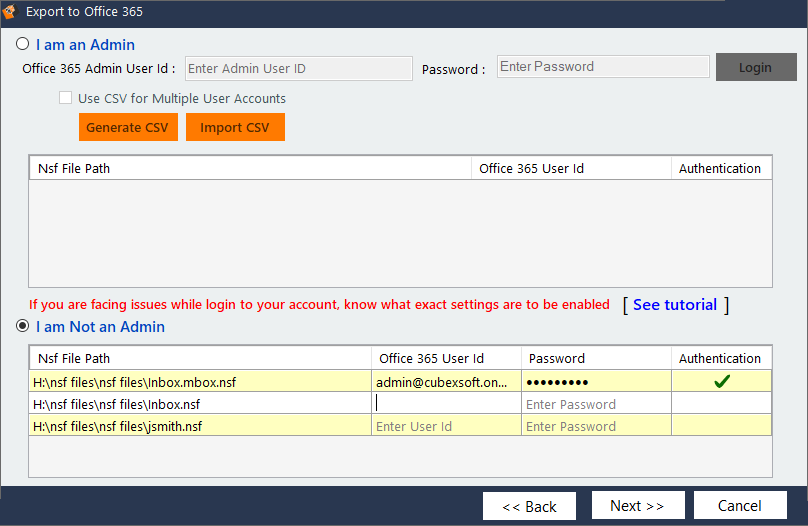
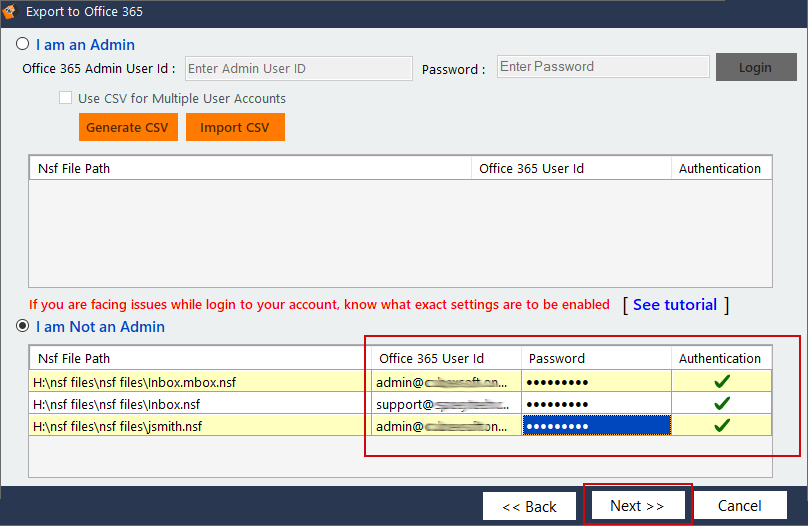
- Wait till the mailbox ID gets validated. Now click on next button
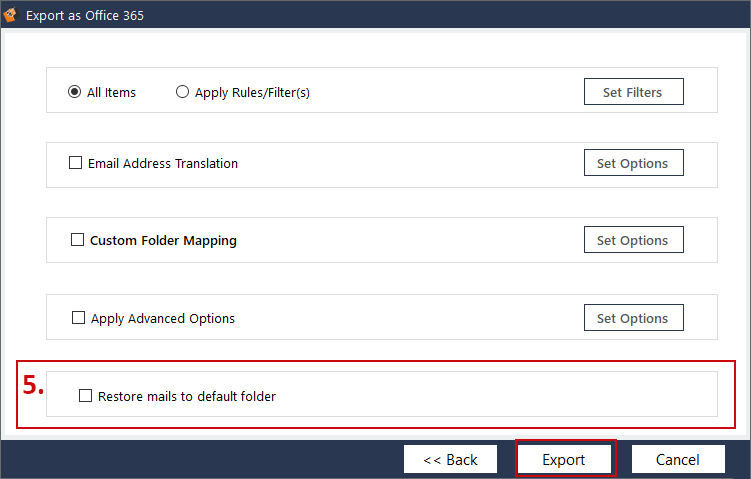
- After that, Export as Office 365 Window will appear there with multiple advaned options choose them according to your need -
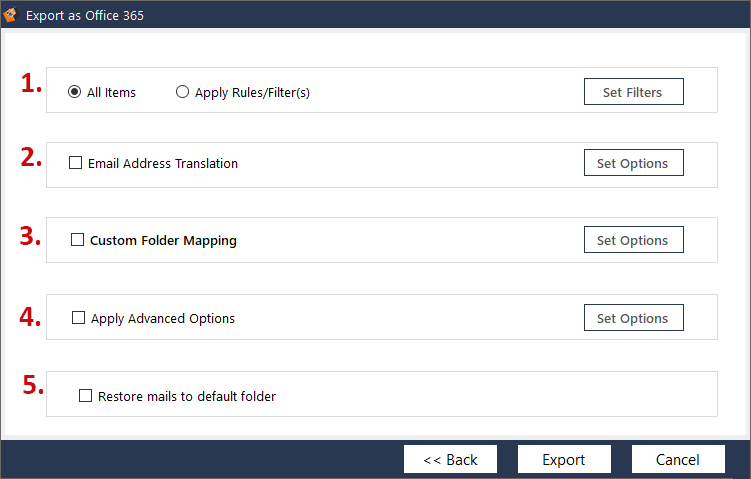
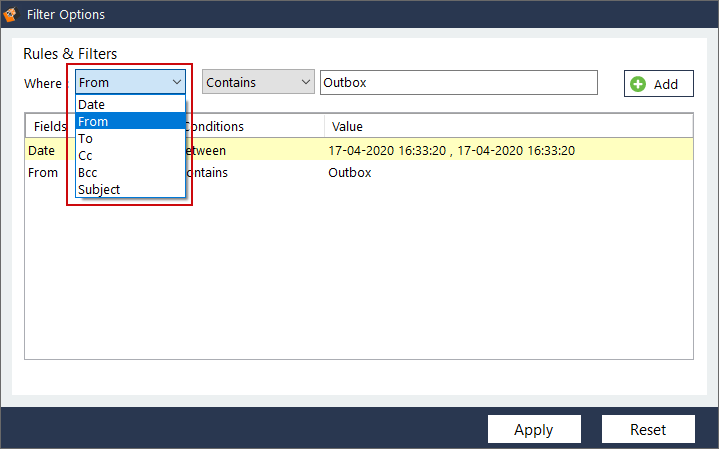
All Items/ Apply Rules/ Filter (s) – Tick this option and add filters or all items for selective migration to PST.
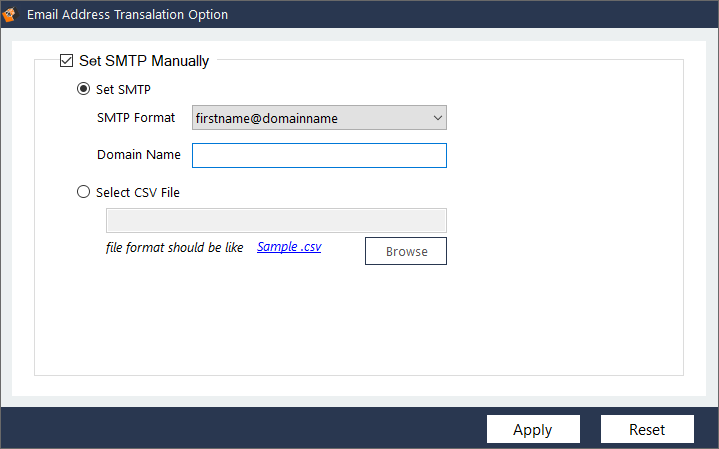
Email Address Translation – Tick this option and set options with account details or csv file to translate the mail address.
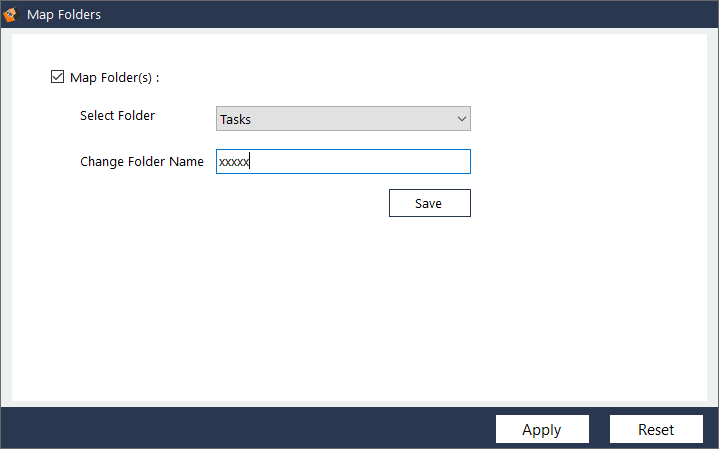
Custom Folder Mapping – Tick on the checkbox and set options to map the folder according to your need by current folder name & new folder.
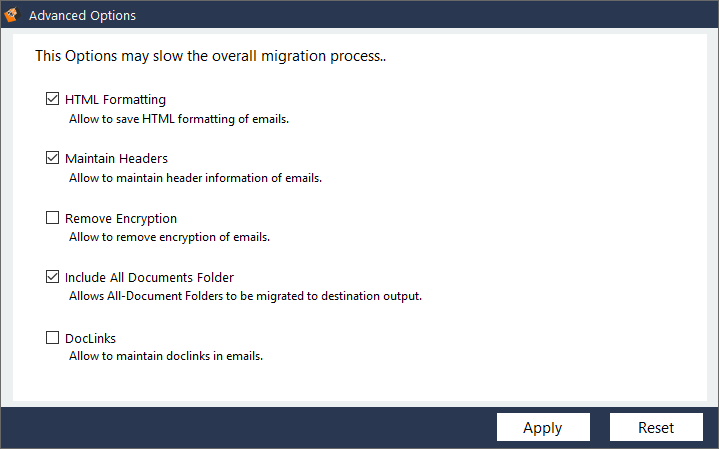
Apply Advanced Options – using the option you can get multiple options – HTML formatting, Maintain Headers, Remove Encryption, Include all Documents Folder & DocLinks. You can choose any option for NSF migration to Office 365.
Tick on the Restore Mails to Default Folder option - it will help to convert NSF files to default folders of O365.
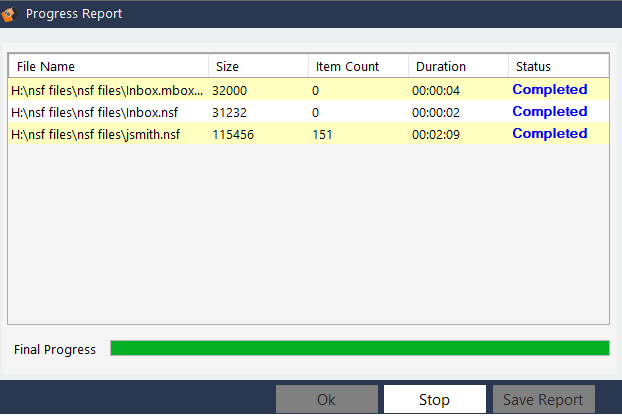
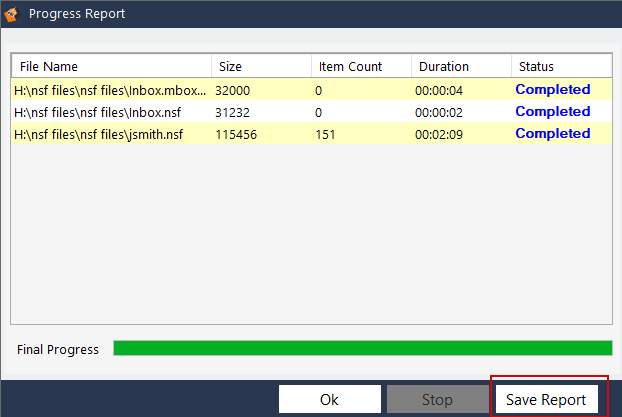
- Once you click on Export button the software will start the process of NSF to Office 365 migration. The export process will display every detail about the conversion such as the current file progress, item count, status, size etc.
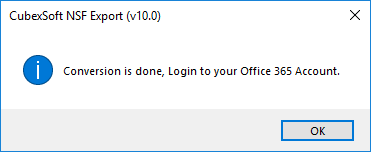
- Once the software done with the process, it will open an alert window showing successful completions of conversion process. Click OK button to finsh the process.
- Once you click the OK button, the software will enable two buttons OK and Save Report. If you want to exit the application, click OK. If you want the complete conversion progress report, hit Save Report button, which will save the detail of processing in CSV file as a record.
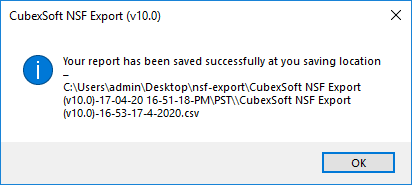
- A new window will open showing the message of successful saving of conversion report. Click OK button to finally finish the process and exit the application.
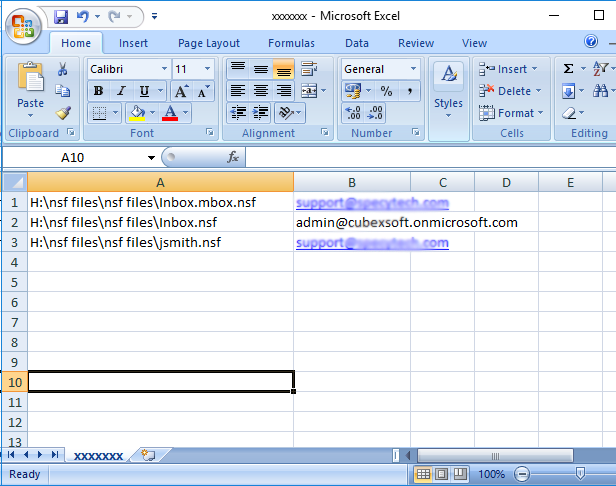
- Navigate to the folder location of your resultant files and click on the .csv file to open and access the conversion report
- Finally, view all the uploaded NSF data in Office365 Admin Account